
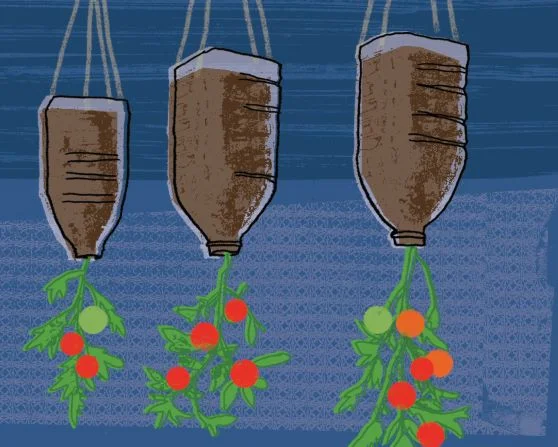
Looking for a quick and sustainable way to grow cherry tomatoes at home? With this unique and fun project, you can do just that. In about an hour, you can turn used plastic bottles into attractive hanging planters that will grow fresh tomatoes on your doorstep all summer long. Ready to get started? Then let’s get started.
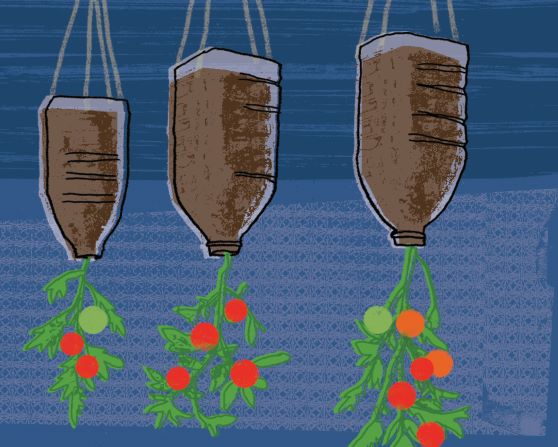
Illustration: Kavel Rafferty
Why you should try it
- Quick and easy: This project is simple and can be completed in less than an hour.
- Eco-friendly: It’s a great way to recycle and reuse used plastic bottles.
- Aesthetic effect: Lined up next to each other, they make a visually appealing row of hanging planters, especially if you use green plastic bottles. But any other color or design will also do.
Materials needed:
- Used plastic bottles (2 to 4 litres)
- Seedlings for cherry tomatoes
- Masking tape
- Punching
- Knife
- Strong cord
- Soil or compost
Step-by-step instructions:
- Prepare the bottle: First, make sure your plastic bottles are clean and don’t have labels. Carefully cut off the bottom of the bottle with a knife.
- Smoothing the edges: The cut could leave jagged edges. Seal them with masking tape. Then, make four evenly spaced holes in the tape (and through the bottle), one on each side.
- Plant the seedling: Turn the bottle upside down so that the opening is facing downwards. Now carefully insert your cherry tomato seedling into the opening of the bottle. Insert the plant carefully, making sure the root ball is spread out inside.
- Add soil: Fill the bottle up to three-quarters full with high-quality compost or soil.
- Securing with string: Thread your string through the pre-punched holes and make sure it’s tight. Tie them tightly.
- Choose the right location: hang your new planter in a sunny spot. Cherry tomatoes thrive best in the sun.
Don’t forget: your hanging cherry tomatoes need to be watered regularly. Check them regularly and make sure the soil stays moist but not soaked.
Summary:
Not only does this simple DIY project ensure you have fresh tomatoes within reach all summer long, but it’s also a testament to the potential of upcycling projects. Give it a try and enjoy the fresh produce from your recycled planter!
Do you like it? Share your inspiration with your friends!