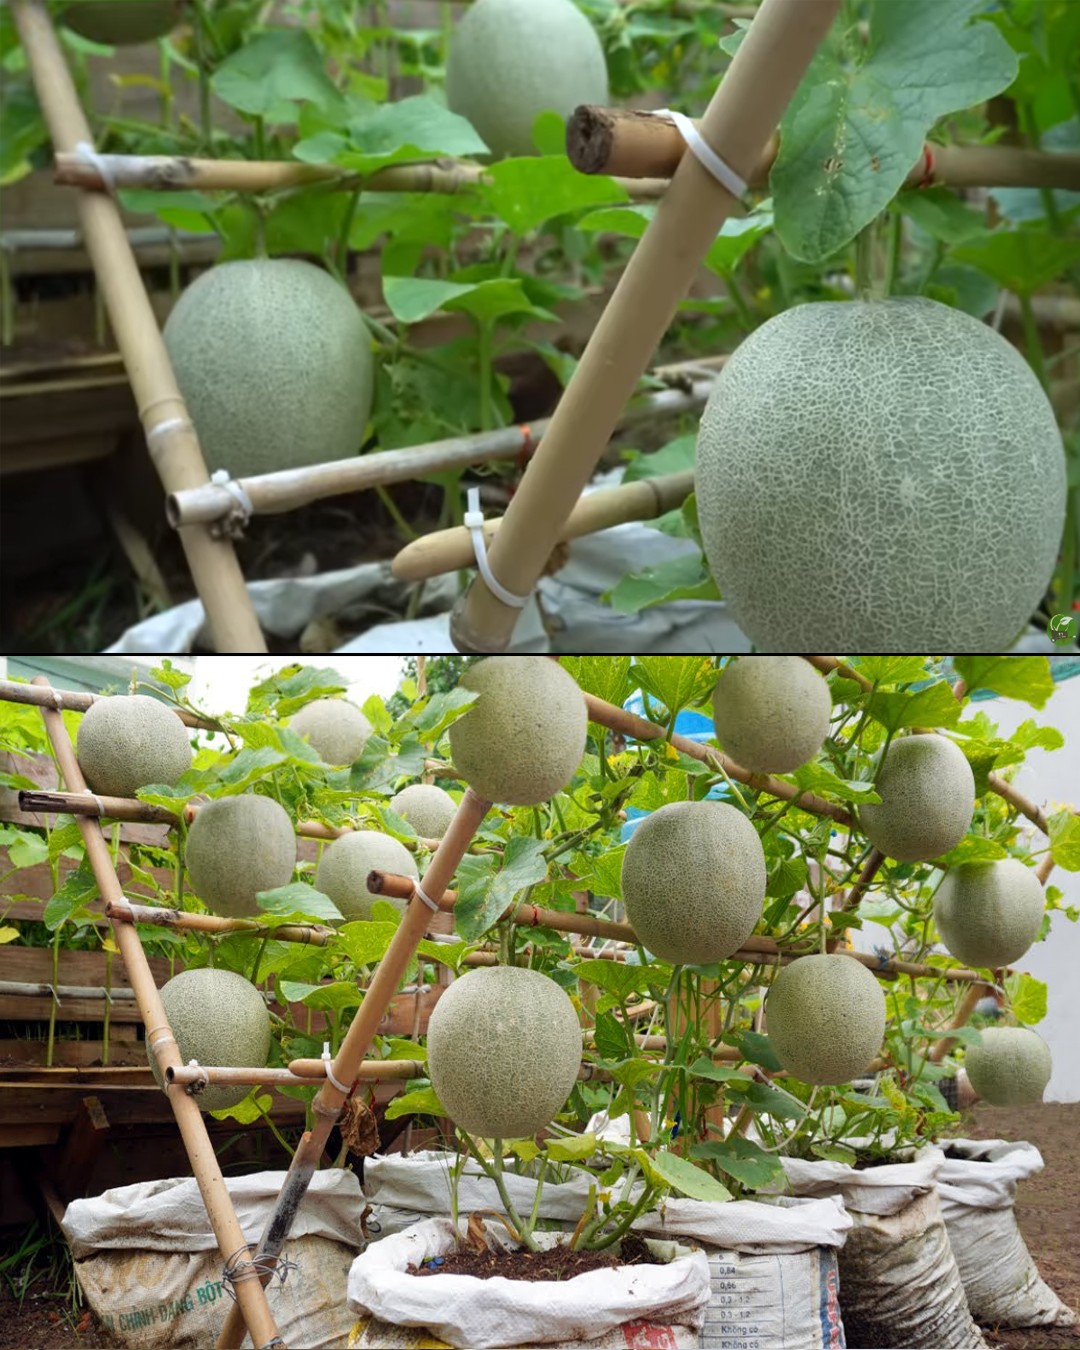
Cantaloupe melons, with their sweet, juicy flesh and refreshing flavor, are a delightful addition to any home garden. While many people choose to grow these delicious fruits in traditional garden beds, it’s also possible to cultivate them in soil bags. Growing cantaloupe melon in soil bags is a practical alternative, especially for those with limited space or poor-quality soil. In this comprehensive guide, we’ll walk you through the steps to successfully grow cantaloupe melon in soil bags.
Materials and Tools Needed:
Before you start, gather the necessary materials and tools:
- Soil bags or grow bags
- High-quality potting mix
- Cantaloupe seeds or transplants
- Garden trowel or hand shovel
- Trellis or support system (optional)
- Fertilizer suitable for fruiting plants
- Mulch
- Watering can or garden hose
- Scissors or pruning shears
Step 1: Selecting Soil Bags
Choosing the right soil bags is crucial for your cantaloupe’s success. Opt for large, sturdy bags with good drainage. The bags should be at least 5-10 gallons in size to provide ample space for the cantaloupe roots to grow.

Si vous avez une mauvaise vision – buvez-le avant de vous coucher
Step 2: Preparing the Soil Mix
Cantaloupe melons thrive in well-draining soil. Fill your soil bags with high-quality potting mix that is rich in organic matter. A mix designed for vegetables or fruits is ideal. Ensure that the soil is slightly moist but not waterlogged.
Step 3: Planting Cantaloupe Seeds or Transplants
You have two options for starting your cantaloupe plants: seeds or transplants. If you choose seeds, plant them about an inch deep into the soil, leaving adequate space between each seed. If you opt for transplants, dig a hole in the soil bag, place the transplant, and cover it with soil. Water the soil thoroughly after planting.
Step 4: Providing Support (Optional)
Cantaloupe vines tend to spread, making them ideal for trellises or support systems. Install a trellis early in the growing season to give your vines the support they need. This not only saves space but also keeps the fruit off the ground, reducing the risk of pests and diseases.
Step 5: Fertilizing
Cantaloupe plants are heavy feeders, and they benefit from regular fertilization. Use a balanced, fruiting plant fertilizer and follow the recommended application rates. Apply the fertilizer when the plants start to develop their first true leaves, and repeat every few weeks throughout the growing season.
Step 6: Mulching
Applying mulch around the base of your cantaloupe plants helps conserve moisture, suppress weeds, and maintain a consistent soil temperature. Organic mulches, such as straw or shredded leaves, work well. Be sure to leave some space around the plant’s stem to prevent rotting.
Step 7: Watering
Cantaloupe plants require consistent moisture but not waterlogging. Ensure the soil remains consistently moist by watering deeply when the top inch of the soil feels dry. Avoid overhead watering to prevent fungal issues. Drip irrigation or a soaker hose is a more effective method.
Step 8: Pruning
Pruning your cantaloupe vines can help improve air circulation and focus energy on fruit production. Pinch off the growing tips when the vines reach the desired length, usually around 2-3 feet.
Step 9: Pollination
Cantaloupe plants rely on pollinators like bees for fruit set. Encourage pollinators to your garden by planting nectar-rich flowers nearby. If you don’t see many pollinators, you can hand-pollinate your cantaloupe flowers by transferring pollen from the male to the female flowers using a small brush.
Step 10: Harvesting
Cantaloupe melons are ready to harvest when they develop a sweet aroma, the skin turns yellowish, and the stem starts to detach from the fruit with gentle twisting. Use a pair of scissors or pruning shears to cut the fruit from the vine.

